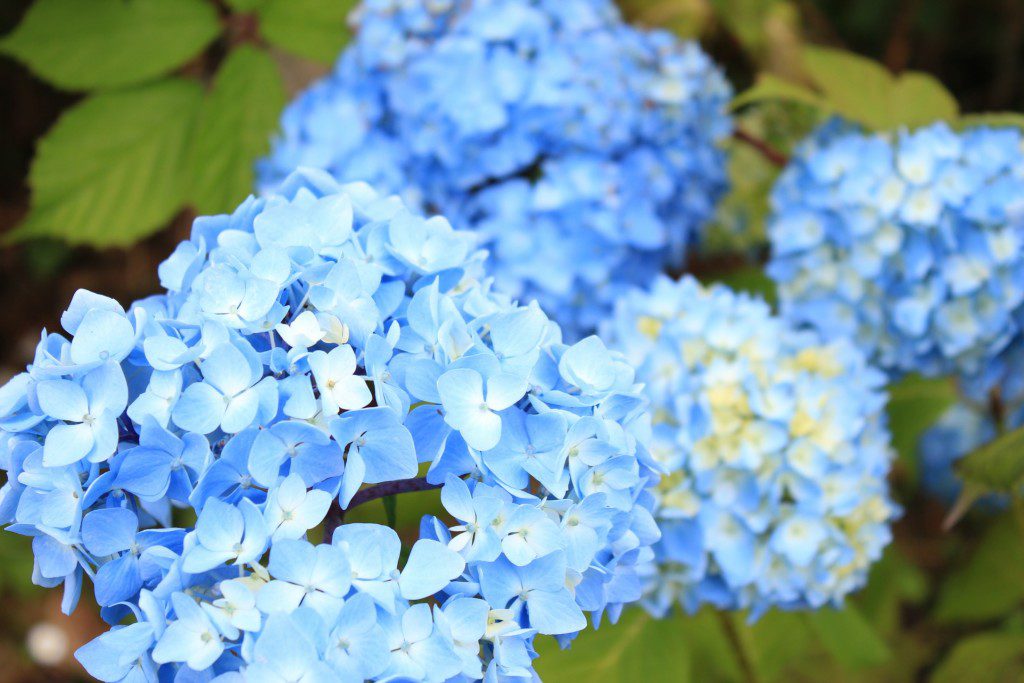
Hydrangeas are gorgeous, and they grow really well in our neck of the woods. If you’d like to grow your own hydrangeas, you can quite easily take a cutting from a hydrangea bush to grow a new one. (The fancy gardener’s term for this is “propogation”…in case you were wondering!) This method will also work with a lot of other types of plants, so get out there and exercise that green thumb!

Directions
- Take a 5-6″ cutting of fresh growth from your friend or neighbour’s hydrangea plant (with their permission of course!)
- Remove all the leaves from the stem apart from the top two. This will allow the roots to form at the bottom of the stem.
- Optional: Dip the base of the stems in rooting hormone, following instructions on the package.
- Place the stem into a pot full of potting compost with drainage holes in the bottom.
- Water thoroughly just until water comes through the holes in the bottom.
- Once drained, cover the pot loosely with a plastic bag, but do not allow the plastic bag to tough the leaves.
- Keep in the shade, and water only when the soil on top is dry to the touch.
Useful hints and tips:
- Hydrangeas like bright light but not direct sunlight.
- Try to keep the cuttings protected from extreme cold or heat during the first year.
- While the use of rooting hormone is optional, it will make it much easier to get the plant growing.
Did you know?
- The colour of flowers on your hydrangea plant will depend on the composition of the soil in your area!
This post has been adapted from instructions originally found on the Garden of Eden blog.


